Showing posts with label she's crafty. Show all posts

Thursday, February 14, 2013

Valentine's Soaps 'n Stuff

So, it's Valentine's Day.  My kids love their friends and family and enjoy making things to give/send to them.  I'm kind of artsy and a bit crafty, so when the mood strikes and the kids aren't cranky and one or more of them are occupied or napping, I like to help them make things for their friends & family.  I don't think crafting with your kids makes you a good parent and the inverse of not crafting with your kids certainly does not make you a bad parent.  Other than making art using pencils, crayons, markers & stickers, we only do a handful of crafts a year (you know, because I have three small children which equals utter chaos most of the time most days).  This year it worked out for Simon (age 4) and me to make these cute little heart-shaped soaps to give to the kids' friends, their cousin and grandparents...


Cute right?  We already had the soap-making stuff (glycerin bars, soap dye & soap scent) because a couple Christmases ago we made soaps with tiny ornaments inside to give out.  As the kids and I were perusing Target a week or so ago, I came across these ice cube trays in one of the bargin bins at the front of the store:

I know melting crayons down into different shapes using trays & pans is a pretty popular craft right now, and that was the inspiration for this soap project.  When I saw the tray I instantly thought it was perfect for making little soaps!  And since we already had the stuff at home, there was no loading the kids up to make a special trip to get supplies, it really was the perfect Valentine craft.

I simply melted the glycerin in a big bowl using the microwave, Simon stirred while I added the soap dye & soap scent, then I used a ladle to pour the liquid into the tray.  It hardened in less than 30 minutes and was ready to pop out.  Simon & I used some plastic wrap to package the soap.  I tied it with some paper ties from packaging from some Imaginext toys the boys got recently (I saved the ties because I thought they would make some cute gift wrap options, glad I did).  Simon was the art director as I made tags on the computer.  Then I just cut the tags out with scrapbook scissors (because I cannot cut a straight line to save my life and the wavy scissors make that less obvious), punched a hole and tied the tag on.

I think our tag is pretty clever, if I do say so myself...


I felt the need to put "It's soap!" on the tag because I wouldn't want their friends to mistake it for candy...


The soaps are small, cute, smell good without too much scent, AND the kids love using them to wash their hands (3-year-old Jonas will purposely touch the potty so that he has to gets to wash his hands with these soaps!).  So they're decorative yet practical.  It's very likely that Simon and I will do this again next year for his kindergarten class Valentines.  How is it he's old enough to start kindergarten next school year?!?!

So the soaps were Valentines for the kids' friends.  A few weeks ago while we were at Target (different trip than the aforementioned one, we all love us some Target), on an impulse I got the kids some way awesome Valentines cups...
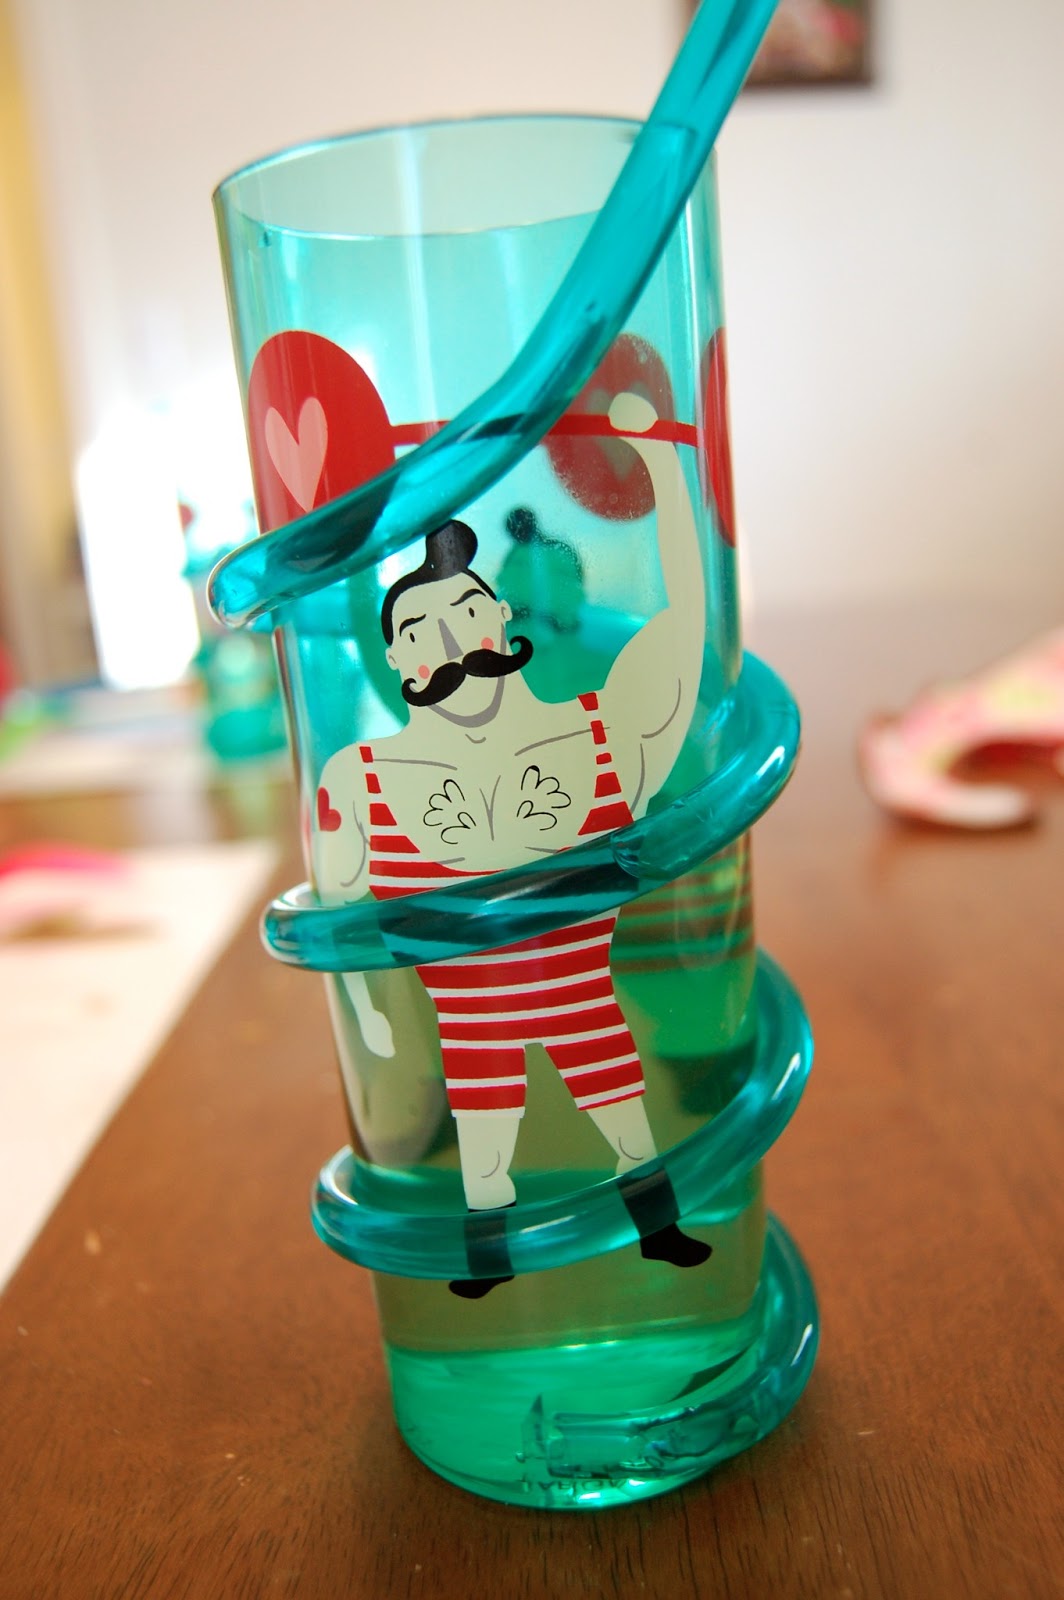

Target had this whole display of circus-y Valentines stuff.  If you really know me, you also know that I love love love the circus.  So I really couldn't not get these cups for the boys.


I especially had to get them because for Simon's 3rd birthday he had a circus party and I made Jonas into a strong man on the invitations & decorations...

So then I couldn't get the boys a cup without getting one for Charlotte as well...


Just look at that girl!  She likes monkeys and will often just sit on the floor saying, "Mon-kee soun, mon-kee soun... AH! AH! AH!"  So the monkey cup was fitting.

So I hope you enjoyed my super-long Valentine's post.  I'll leave you with a picture of Simon being the strong man on his cup.

Tuesday, February 12, 2013

A Lincoln Coloring Page for YOU!

It's Ol' Abe's birthday today.  I drew this years ago and made it into a coloring page.  Print it.  Color it.  Enjoy.

Oh, and while sitting in my lap as I posted this, Charzie looked at my Lincoln picture and said, "Oh no!  Scary Guy, don't eat me!"

Tuesday, March 27, 2012

Preschool Paint Project

This morning I had the boys do the whole painting with marbles thing while Baby Charlotte napped. You know, the project where you stick some paper in some sort of container, glob some paint in it and let the kid(s) roll marbles around in the paint to make tracks. Of course it turned into just regular fingerpainting, but the boys thought the marble thing was cool.

Simon & Jonas' artwork

This little project led to a conversation with Simon (the older) about what we could find outside to use to make tracks next time. Here are some things he thought we could use:

Pinecones
Sticks
Leaves
Flowers
Rocks (stuck together with peanutbutter)
Cake

I'm not sure why the rocks must be stuck together with peanutbutter, but that's the way it has to be. (He said, "Peanutbutter is sticky!") And I really don't think we should use cake we find outside, but it's an interesting thought. He may have added a few other things, but I got lost in thinking of why we'd find cake outside.

Tuesday, January 31, 2012

Preschool Craft Time

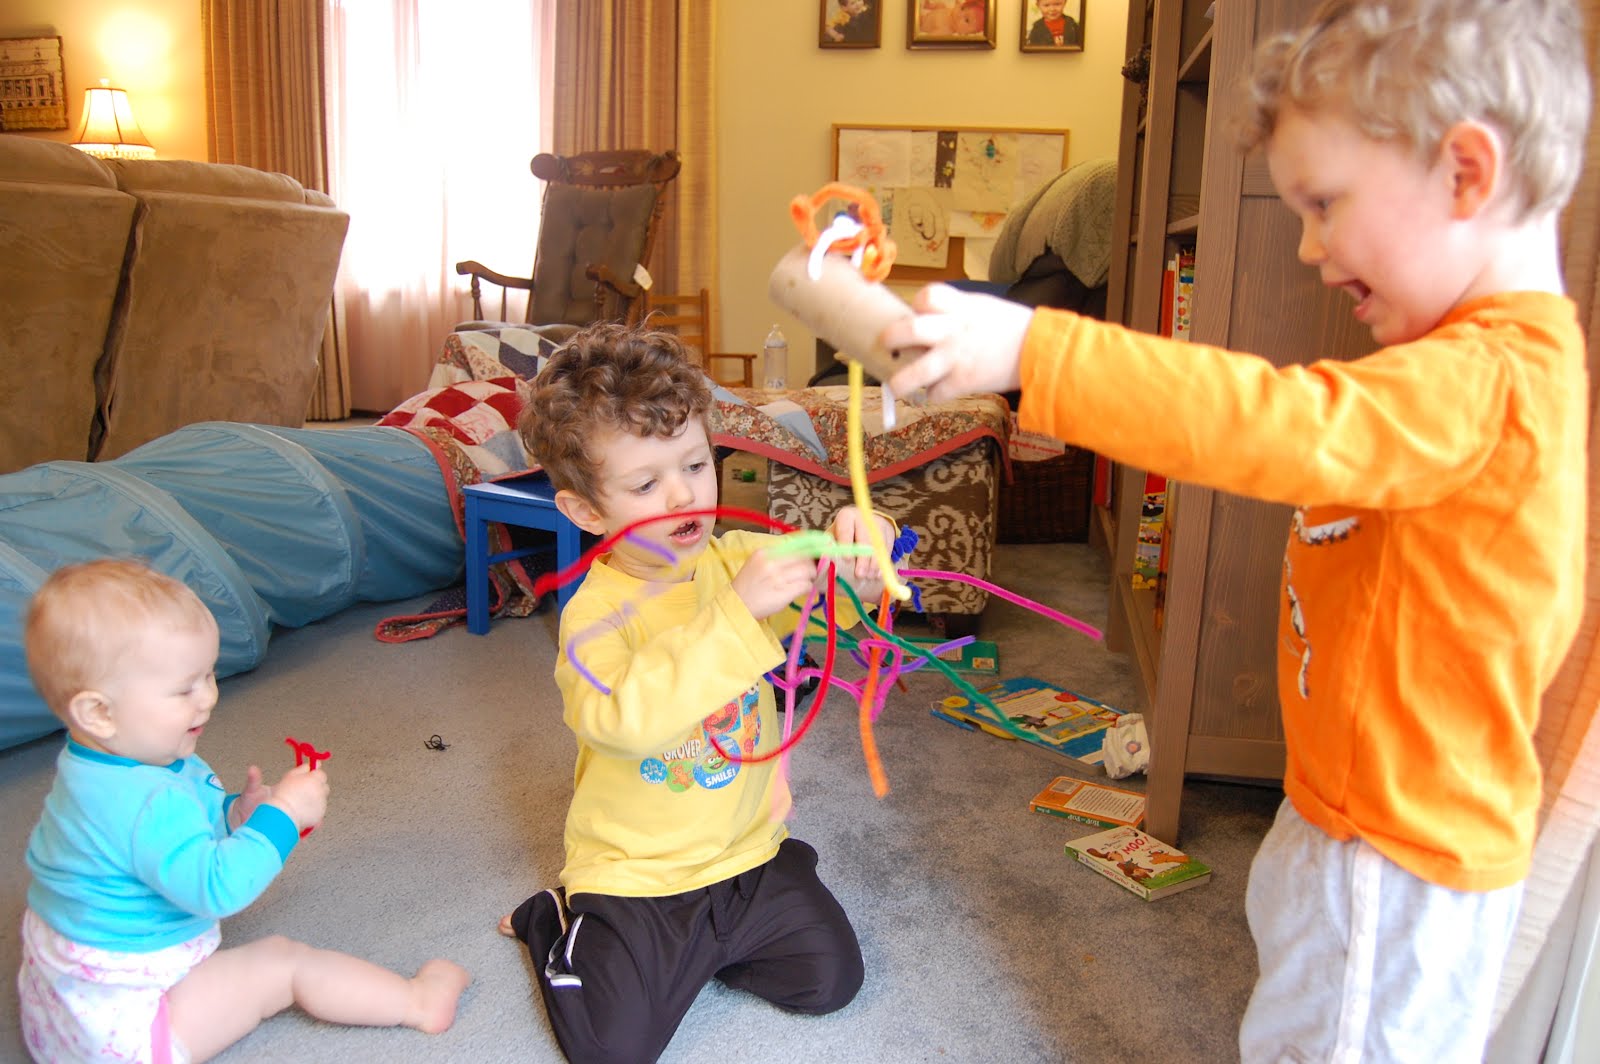
Finding junk to occupy the boys crafts the boys can both do is difficult because A. Jonas (2.5 years old) is 80 times more destructive than Simon (3.5 years old), B. Simon can (sort of) use scissors a little but Jonas cannot, C. Jonas still puts things in his mouth, D. Jonas wants to do everything Simon does, and E. I usually have a Baby Charlotte on my hip. So unless I want paint/glue/marker/blood all over my home, my options are pretty limited.

But I had an idea last week... toilet paper tubes + pipecleaners = sculptures. Even better, add googly eyes & a bit of marker and you've got monsters! I already had all these things in the craft/activity cabinet. Here's the super easy how to:

1. Gather your supplies [pipecleaners, toilet paper tube(s), hole punch, glue (I used tacky glue), googly eyes, marker(s)]


2. Punch some holes in the toilet paper tube. [I did 8 holes]


3. Give the tube & pipecleaners to your kid(s) and let 'em have at it!


4. Hand your kid(s) a marker and let 'em have at it again!

5. Help your kid(s) glue some googly eyes on their creation(s). [I guess some kids could do this step themselves, especially if they're older, but mine can't be trusted.]

6. Photograph the creation(s) for posterity.

Simon's monster

Jonas' monster

7. Be prepared for meltdowns when the monster is inevitably destroyed.

This occupied the kids for quite some time. Plus, almost a week later, They're still playing with (what's left of) their monsters! I think I win with this one.

(If you have older kids or want to take more time preparing, you could cover the tube with some pretty paper, too, but I'd do that before punching the holes.)

Friday, September 23, 2011

Things Just Got Spookier Up In Here


I just finished my Halloween banner and hung it up! Yay! (I used scrapbook paper, black feathers, a hole punch & some twine.)


Halloween is pretty much my favorite holiday. I have a fondness for spooky things (as do my kids) and dressing up in costumes is just so fun. The kids were playing in the Halloween box the other day and I snapped a few pictures...

Simon in a wig & ringmaster hat

Jonas sporting the hat from Simon's lawn gnome costume from 2 years ago

Charlotte looking kinda creepy but a lot cute in the wig

That's enough for now, I've gotta go clean up my mess from making the banner...

Saturday, September 17, 2011

Make a Cute Mobile for $5 or So

Doesn't this super cute thing need some super cute things to look at? I think she does.


So I made this for her:


What I used:
small wreath (less than $2 from Hobby Lobby)
hemp rope (about $2 from Hobby Lobby)
painted wooden accents (67 cents each from Hobby Lobby)
scrapbook paper (from my stash)
hot glue gun
tacky glue
small paintbrush

Trace each wooden piece on some pretty paper
(plug in the glue gun to heat up)
Cut the tracings out
Cut rope (some for dangling pieces and some for hanging)
Tie the rope to the wreath
Hot-glue rope to wood pieces
Cover that mess with paper pre-traced & cut. I used tacky glue and spread it thin with a paintbrush.
Hang from ceiling. I used a hook that screwed in.

I think the mobile I made is cuter than most of the ones you buy & attach to the crib. Plus, you don't have to remove it when baby can reach it, just hang it higher. Depending on what you hang from it, it can still be a little accent piece in the room when baby's not a baby anymore.

The owl is Charlotte's favorite. She was talking to it in the store.